
Are you inspired by the clothes you see around you? On our recent holidays in France a woman walked past in an off-shoulder top, dip dyed, blue at the top fading to white at the bottom…It looked so chic. My French is fairly non-existent so I was unable to be cheeky and ask her if I could photograph her top to share with you, you will just have to imagine it!! Naturally, my mind turned to a men’s button-down shirt refashion. Charity shops and France do not seem to mix, so I had to patiently wait until we were home to have a go at making my own version.
I am delighted with my XL quality lightweight cotton men’s shirt, in order to achieve the ruffle I have used additional fabric from a white old bed sheet.


If you want more men’s shirt refashions inspiration check out these posts!
Swimming bag made from a man’s shirt


The tutorial below is based on body measurements plus an existing top from your wardrobe as guidance. If you prefer pattern pieces check out all We All Sew who shows you how to make your own pattern pieces.
Men’s shirt to Women’s Shirt Refashion
You will need:
- Large Shirt
- Elastic
- Bias Binding
- Indigo Dye
- Tape Measure
- Sewing thread
- Sewing Machine
Start by measuring your shoulder circumference, jot down this measurement as you will need it shortly.

Lay your shirt flat with your top from your wardrobe on top. Think about the position of the buttons, you do not want one on the hemline or the top seam. As you can see I have managed to utilise the existing hem of the shirt.

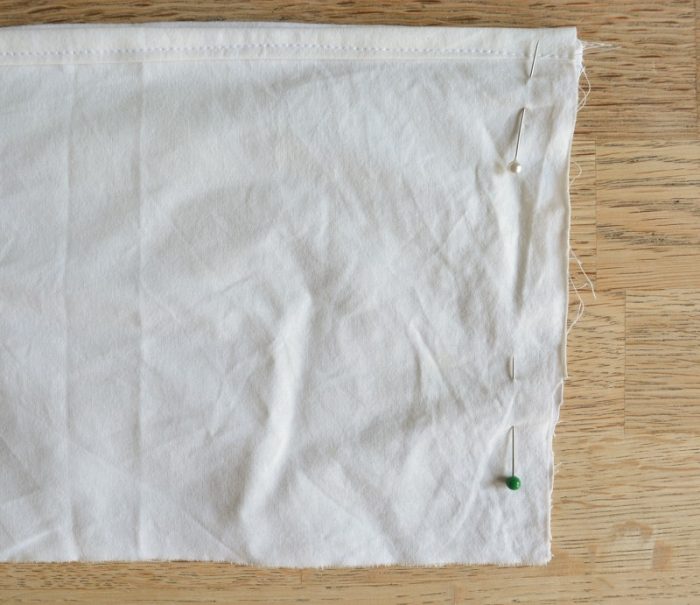
Carefully fold back the should seam, use this as a guideline to cut approx 4″ worth of armhole seam.
Cut one side of the shirt, remove your top and fold over and use as a template for the second side of the short.
Pace right sides together and sew your front and back top pieces right sides together. Sew your side seams. Finish the seams I have used a zigzag stitch, this is a great finish if you do not have a serger.

Use bias binding to edge your armholes. Place the right sides together and stitch around the armhole.

Fold the bias binding over to the wrong side and press.

Topstitch to hold in place.
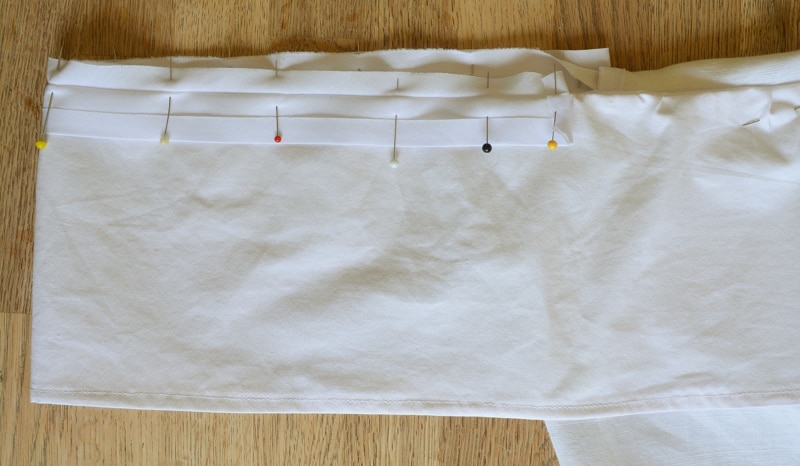
To make the ruffle you will need a piece of fabric double your shoulder measurement in length and 6″ wide. My original intention was to make this out of the remaining shirt, but I just did not have enough fabric – if you have a long sleeve shirt and can manage this join panels together to create one long panel. Hem one of the long edges (double fold over the fabric, press and stitch).
Place right sides together and join along the short edge. Finish the raw edges of the seams.
Gather the fabric a little and pin to the front and back of the shirt (no need to gather the shoulder parts)

Stitch the along the top to hold in place, then press.

Now to edge the shoulder ruffle, you need bias binding wide enough to encase the elastic.
Place the bias binding right sides together – stitch along.
Fold the bias binding over, and the ruffle to the front along the front and back of the shirt

Sew along to create the encasing for the elastic, allow a little space to enable you to thread the elastic. Cut a piece of elastic the length of your shoulder measurement and thread through. Try on then sew your elastic ends together. I needed to take an inch out of the elastic for a good even fit.

If you fancy dip dying your shirt I have made a video here to show you how to. Top tip – if I was to do this again I may be tempted to tie a plastic bag around the section I wish to keep white to stop any splashes – however, I am pleased it looks handmade/rustic!!!

Bobbi
Monday 7th of June 2021
Super Cute! I kept a couple of my husbands white button-down shirts that he outgrew figuring I would find a creative way to recycle them. This top is it! They are HUGE on me, so plenty of extra fabric to cut the ruffles. Thanks for sharing!
DiAnne Forville
Sunday 14th of February 2021
I love this. What a great idea.
Gail
Wednesday 14th of August 2019
This is so cool! What a wonderful to re-purpose old shirts!
Elizabeth Eales
Wednesday 31st of July 2019
That is gorgeous Vicky. And I actually love the splash bits as I think it adds to it. x
Vicky
Wednesday 31st of July 2019
Aw thank you