
Did you see the Sapporo coat I made a couple of weeks ago? It seemed only fitting to use the remaining wool blanket to make a coordinating bag to go with the coat. I spent Sunday morning with newspaper, creating a variety of templates. My son kindly named the bag for me.


-
Personally I am rather passionate about bag making – if you are new to bag making I have the perfect Beginners Bag Making Course for you which covers so many essential skills for bag making, and includes many free bag tutorials.

How to make a wool tote bag
This post contains Amazon affiliate links for your convenience. Click here to see my disclosure policy.
- Main fabric 80 by 89cm (31 1/2 by 35″)
- Lining Fabric 80 by 89cm
- Fusible Interfacing 80 by 89cm
- Annies Soft and Stable or Vilene Foam Fabric Sew In Interfacing Interlining 80 by 90cm
- Contrasting fabric one fat quarter
- Slip pocket fabric 35 1/2 by 16 1/2 cm (14 by 6 1/2″)
- bias binding 2m (2.2 yards)
- piping 2m (2.2 yards)
- Leather straps 61 by 2.5cm (24 by 1″)
- 8 * 9mm Double cap rivets
- Hole punch
To make:
Cut out the following shapes:-
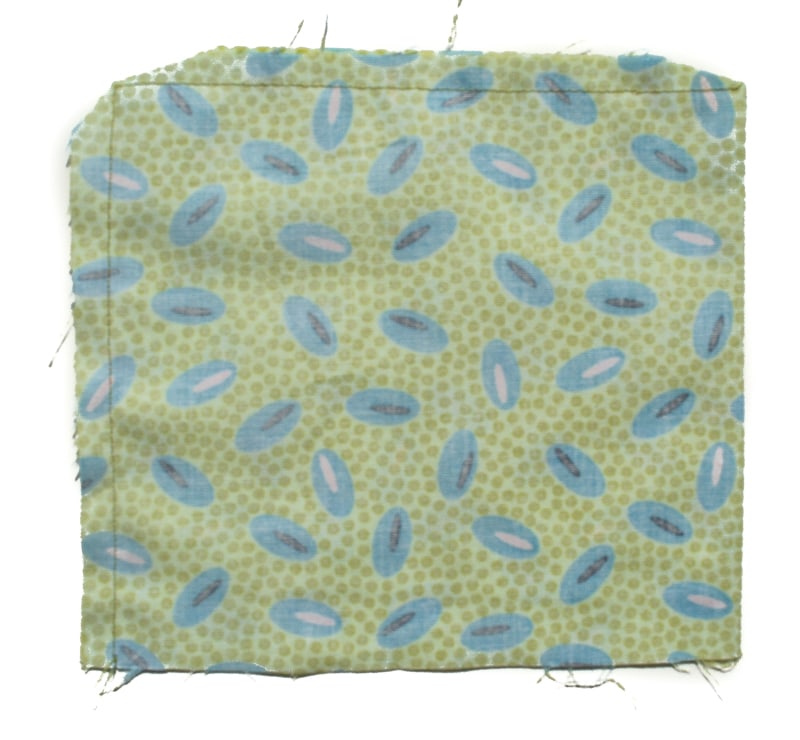
- Wool bag piece 80 by 89cm (31 1/2 by 35″)
- Lining fabric 80 by 89cm (31 1/2 by 35″)
- Central panel 28cm along the top, 21cm along the bottom and 39cm high (11 top, 8 1/4 bottom and 15 1/2″high)
- Pocket piece
Make the slip pocket, iron in half right sides together. Stitch around two sides. Trim Corners.
Turn right side out, press raw edges inwards. Place slip pocket at the central point of the lining.
To work out central point fold lining in half, visualise the side seam sewn together to establish the top and bottom of the bag. Place the slip pocket five inches down from the top, centrally. Stitch in place, closing your raw edges as you go.

Pin the right sides of the lining together and stitch. Pin then stitch the base of the bag. (Please ignore my seam being on the wonk, initially, I was planning on making the top of the bag wider than the base, if you would like to do this I suggest adding an inch at the top).

Make the central contrast panel next. Press bias binding open. Fold bias binding around piping and stitch in place using a zipper foot.

Pin piping down side of each central panel so raw edges align. Stitch in place.

Place central panel on centre of main fabric (establish centre as you did for lining).

Pin the right sides of the bag together to establish the place to pin the second panel. Pin in place down one side, remove the original pins (holding bag sides together) and stitch. Next stitch the right sides of the bag together.
So now you have a loop of fabric with a loose edge of one panel. Pin in place and stitch the loose edge. You may need to start one side and stitch to the middle, then start from the other edge an stitch to the middle.

Place right sides together and stitch along the base of the bag.

Next, let’s box the corners of the main bag.
Pin the side of the bag to the base.

Mark across the corner, 6 1/2 cm (2 1/2″) either side of the seam. Stitch.

Repeat for the lining. Trim the corner seams on both bag and lining.
Using a plate mark a curve in the decorative panels, a cm in from the piping.

Baste along the line then trim. Place the lining inside the bag so right sides of main bag and lining face each other.

Pin together, then stitch around starting at a curved edge, and finishing at the opposite end of the other curved edge, leaving one straight edge unstitched. Clip into the seam allowance of the curved edges being careful not to cut into your seam. Turn the bag right sides out through the gap. Fold the raw edges in, pin.

Top stitch around the top of the bag.
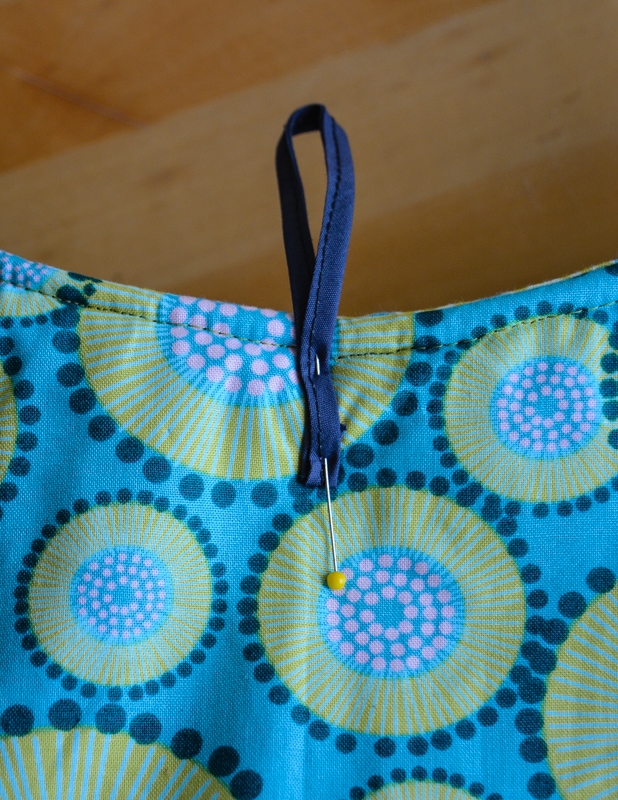
Add handles – Use double cap rivets to secure the leather straps either side of the decorative panel.

Fold a piece of bias binding in half and stitch. Fold raw ends in and place centrally on back decorative panel. Hand stitch in place.
Sew button on front of the bag.
You are done – there are so many potential options for this bag with a huge variety of fabrics to pick from. I am delighted with my bag which styles perfectly with my Sapporo coat.

It seems slightly ironic that I have made a coat and bag in spring – with summer here!! Do you have a favourite style bag? If you love totes then this denim sashiko tote may suit you – it is a labour of love, relaxing to make and truly unique. Check out all my free bag patterns here.

Pam
Sunday 20th of September 2020
Lovely tote! What are the finished dimensions please?
Vicky
Thursday 1st of October 2020
Sorry for the delay in coming back to you - I will add this to the tutorial! 5" deep, 11" wide (at the base) and 8 1/2" tall (at shortest height)
Pam @Threading My Way
Tuesday 26th of June 2018
Piping definitely takes a bag up a notch or two. Great colours, great shape and I love how you've used a blanket, Vicky. Love you to add this to the Bags linky...
Pam@Threading My Way
Monday 9th of July 2018
Featured today, Vicky...