
Today I am delighted to be joining in a last-minute gift blog hop – its reached that point where you may be scratching your head, wishing to make some gifts but are wondering quite what to make? Then this blog hop is for you. Thanks to Faith and Fabric for organising us ten bloggers to share with you gift ideas.

I am sharing with you an easy fabric covered Journal DIY – buy a notebook and take it up a level with a one off cover. A little bondaweb and different fabrics to create any lettering you want.

Fabric Covered Journal DIY
Materials:
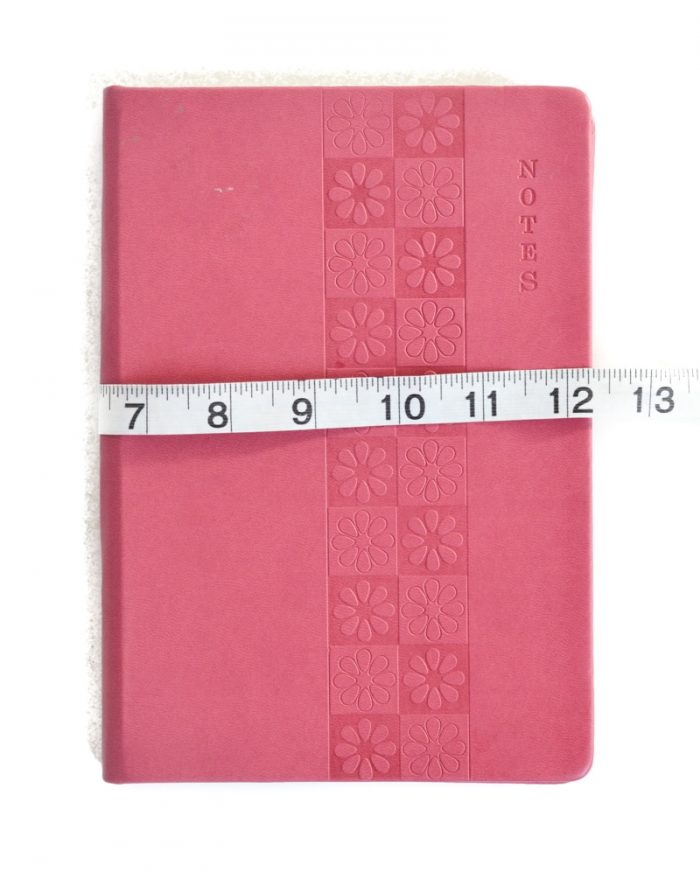
Book to cover – in this case, an A5 hardcover
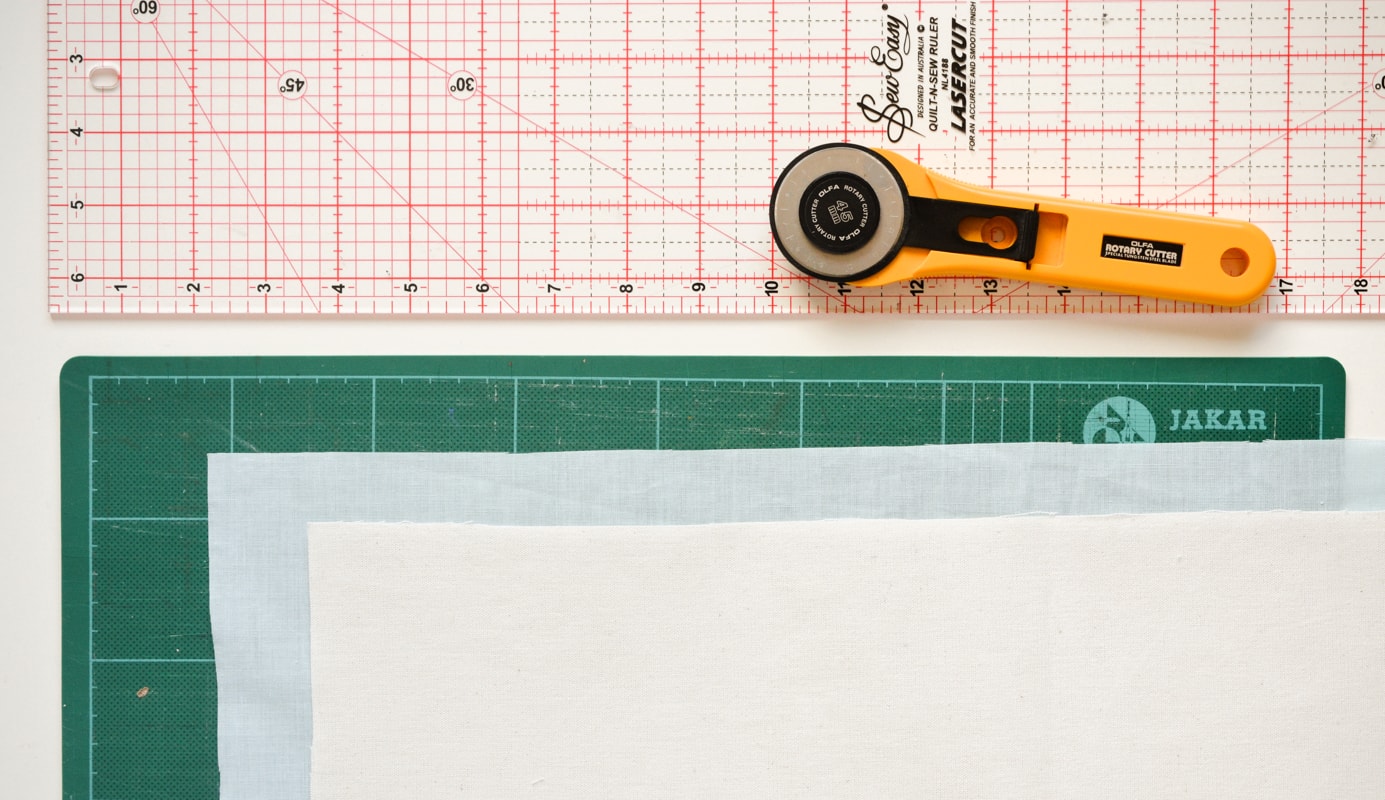
Fabric, two pieces, external and lining
Iron on interfacing
Small pieces of fabric for applique
Bondaweb
Matching thread and general sewing supplies
To make:
Measure around your closed journal from front to back edge including the spine. Measure from top to bottom. Add 8 inches (4 each side) for the edges that will fold over to the inside of the book and 1 inch (½ top and ½ bottom) for seam allowances.
My notebook measures 12 1/4 around, top to bottom 8 1/4″
Therefore the fabric is 20 1/4″ by 9 1/4″
Cut two pieces of fabric, one for the front cover, one for inside the journal.
Iron on the interfacing to the wrong side of the piece of fabric you wish to use as the front of your journal.
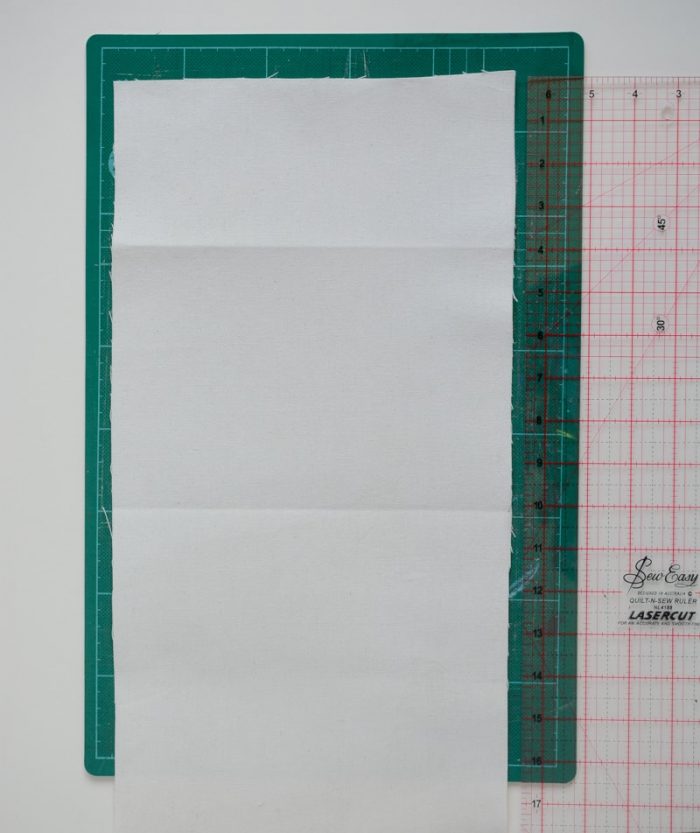
Measure in and mark where your fabric will fold into the inside 4″ and the central spine ( 4″ plus half the original measured length 10 1/8″) – this will show you the front cover ready for positioning applique letters.
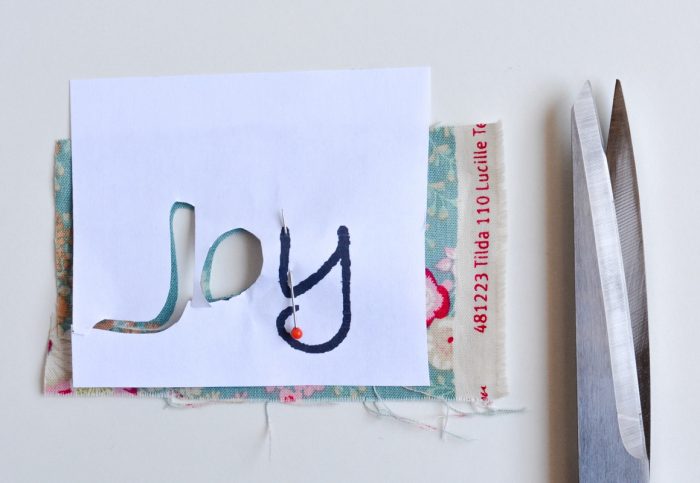
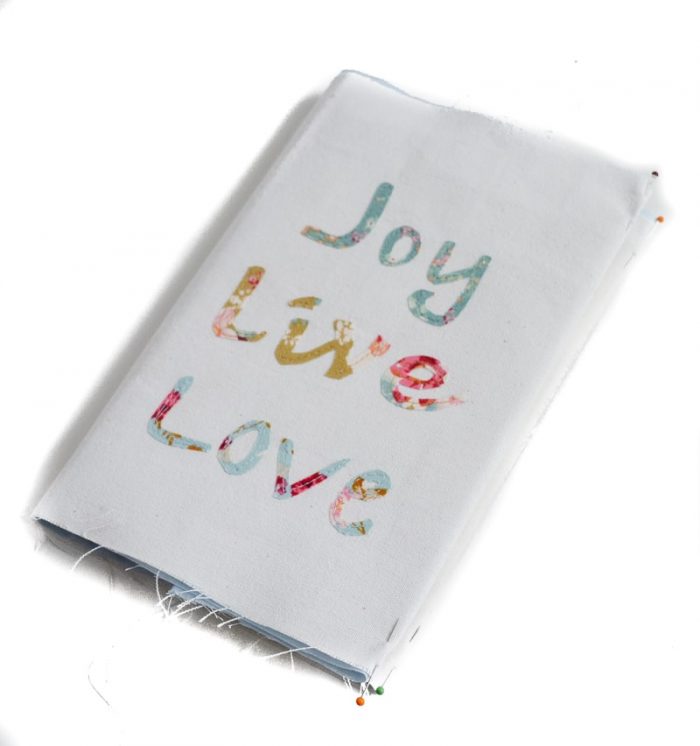
Apply bondaweb to the back of your applique fabric.

Cut out words, I have chosen the words Joy, Live and Love, designing them into a word document, printing them out then using the paper as a cutting guide.
Cut out your words. If you would like my word document sign up for my newsletter for access to my resource library.
Position and iron into place, protect your iron with a piece of baking paper.
The bondaweb will hold your letters in place. You may choose to top stitch around each letter in contrasting thread.

Once your applique is finished place the lining fabric on top, right sides together and sew the sides only, leaving both the top and bottom edges open.
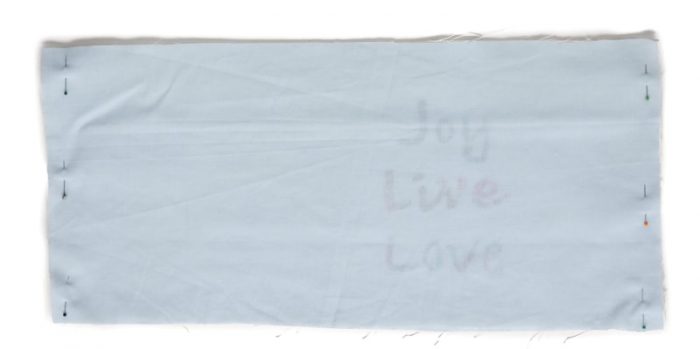
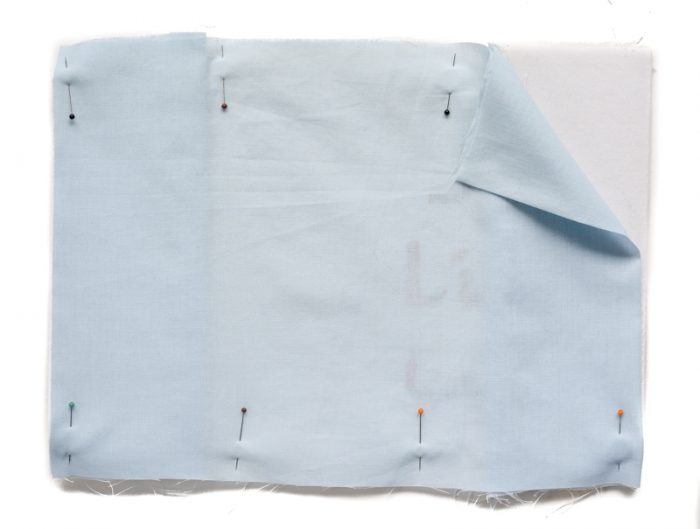
Turn the cover right sides out and place the book inside the cover, fold the edges over the book. Pin each edge as markers, remove the cover and press, the creases help you in the next step.
Turn the cover wrong side out again and fold the sides inwards, matching up the pressed creases of the lining and front fabric.
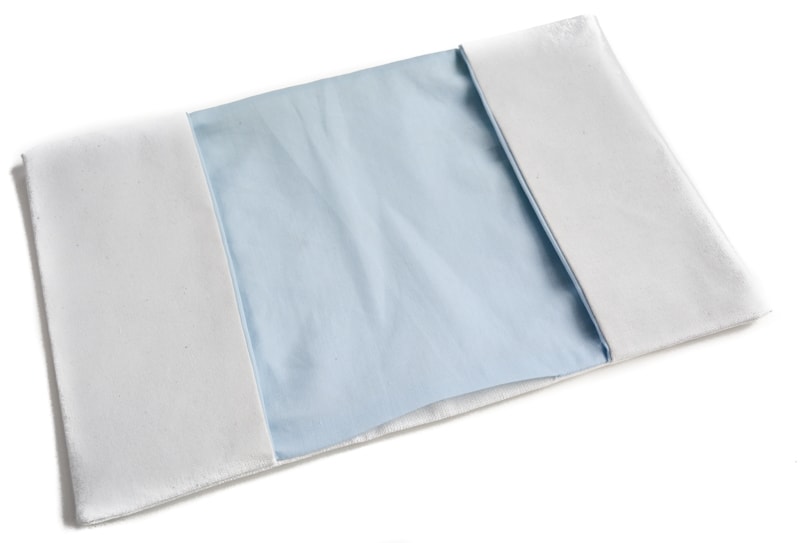
Sew the top and bottom ensuring you leave an opening big enough to turn it right side out. I find it always helps to mark this so I don’t forget!
Turn right side out. Press, pressing in the raw edges of your turning gap. Either hand sew the opening closed or glue with bondaweb the gap shut.
Finally, give your journal cover a good press and place your journal into the cover.

If you would like this tutorial as a free PDF including printabe template sign up to my newsletter (includes yet more resources!)
$('.ml-subscribe-form-5692827 .ml-block-success').show(); $('.ml-subscribe-form-5692827 .ml-block-form').hide(); };
Why not visit Leanne at Devoted Quilter for some further last minute gift ideas?
