
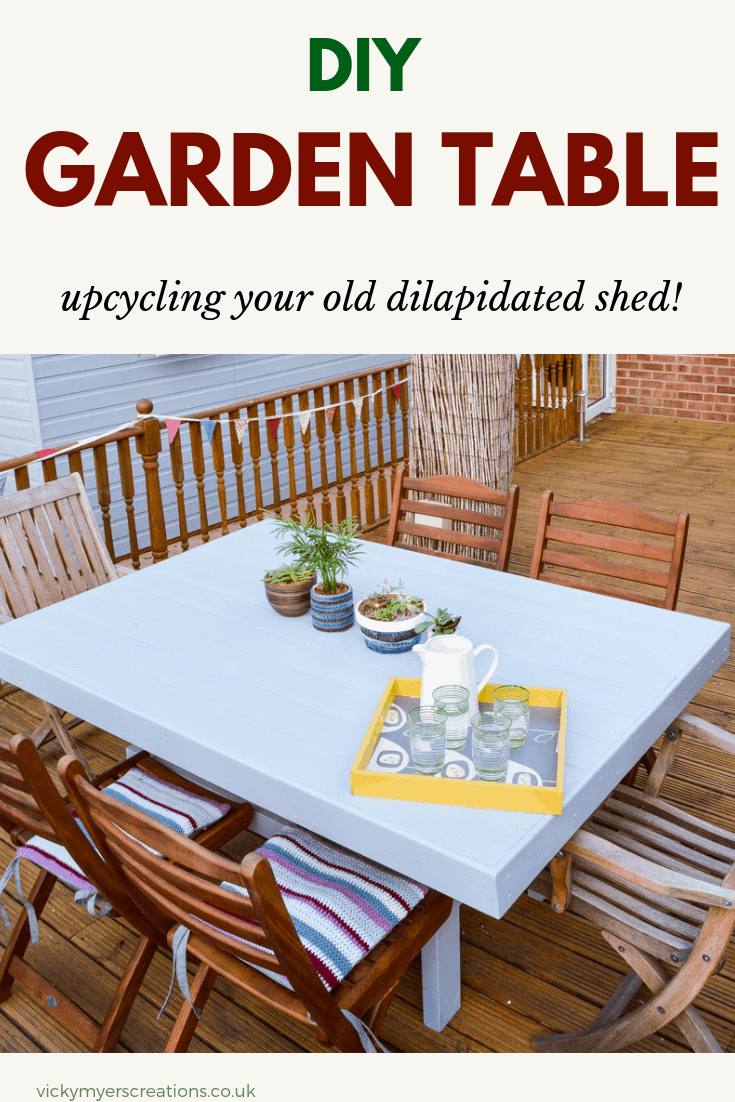
You don’t have to be an expert DIYer to make this stunning DIY Garden Table. Upcycle an old shed to make a great outdoor dining table.
Eating outside has to be on the of the best parts of summer. As we gradually make our new home into our own space we realised it was time to update the small garden table we bought many years ago for a small backyard with a large DIY garden table. I love eating outside, the fresh air somehow makes the food taste better. Our new garden has a large decking area, perfect for entertaining. Our goal was to have an outdoor dining table perfect for the four of us for day-to-day use, but large enough to seat more people when we entertain.
If making a table from scratch appeals to you then here are some great instructions with full plans for a DIY garden table. If you are looking for a coffee table size then check out my cable reel outdoor table. But if you are looking for an upcycled garden table read on!
My husband and daughter came up with a plan for a DIY outdoor table made with the remains of two dismantled partly rotten sheds which we have replaced with a new large shed. With nothing to lose they set to work, inspecting the sides to find the best condition.

The finished table is 5’4 by 3′ 10″ . It is a perfect size, for four it feels spacious, but not large. Last weekend we celebrated my Mum’s 70th birthday and had eleven people round the table. There was room down the middle for salads to accompany the BBQ, admittedly eleven was one too many for comfort…


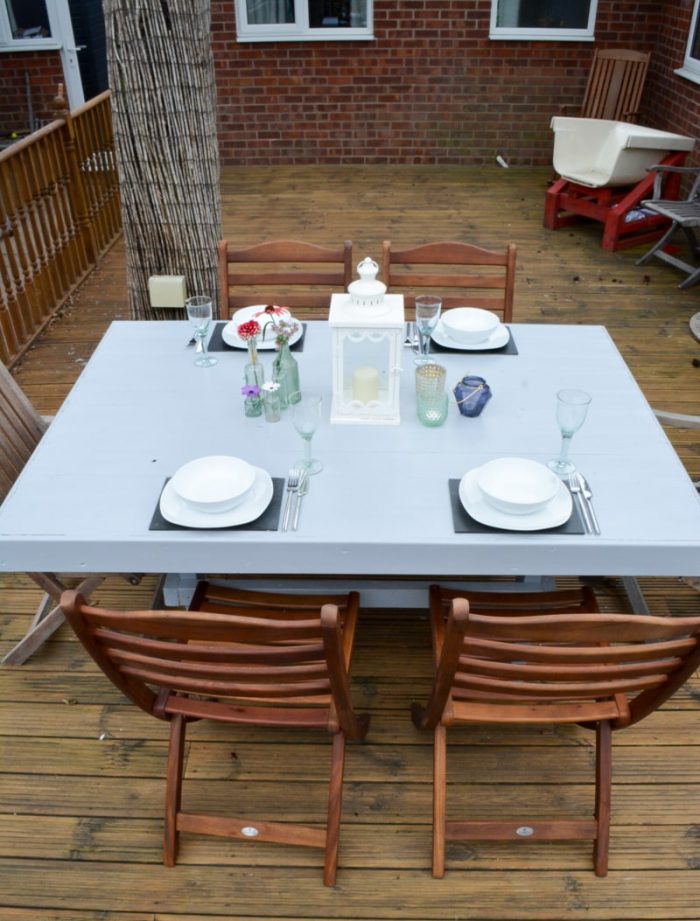

DIY Garden Table
Measure and mark out your garden table size, ensuring your table is made out of solid wood. My husband chose to measure the table to fit around the former shed supports to avoid having to remove or move them, as he felt this would potentially weaken or damage the existing tongue and groove slats.
He used a Black & Decker Scorpion electric saw to cut the table to size, but you could use a hand saw. The cut top measures 3’9″ by 5′ 3″.


Please be super careful not to cut through the power cable and always use an RCD. He mounted the shed side on our existing garden table for ease of working.

You can see from the edges of the table top that the all the rotten wood has been cut away.

Strengthen any loose boards with extra nails.
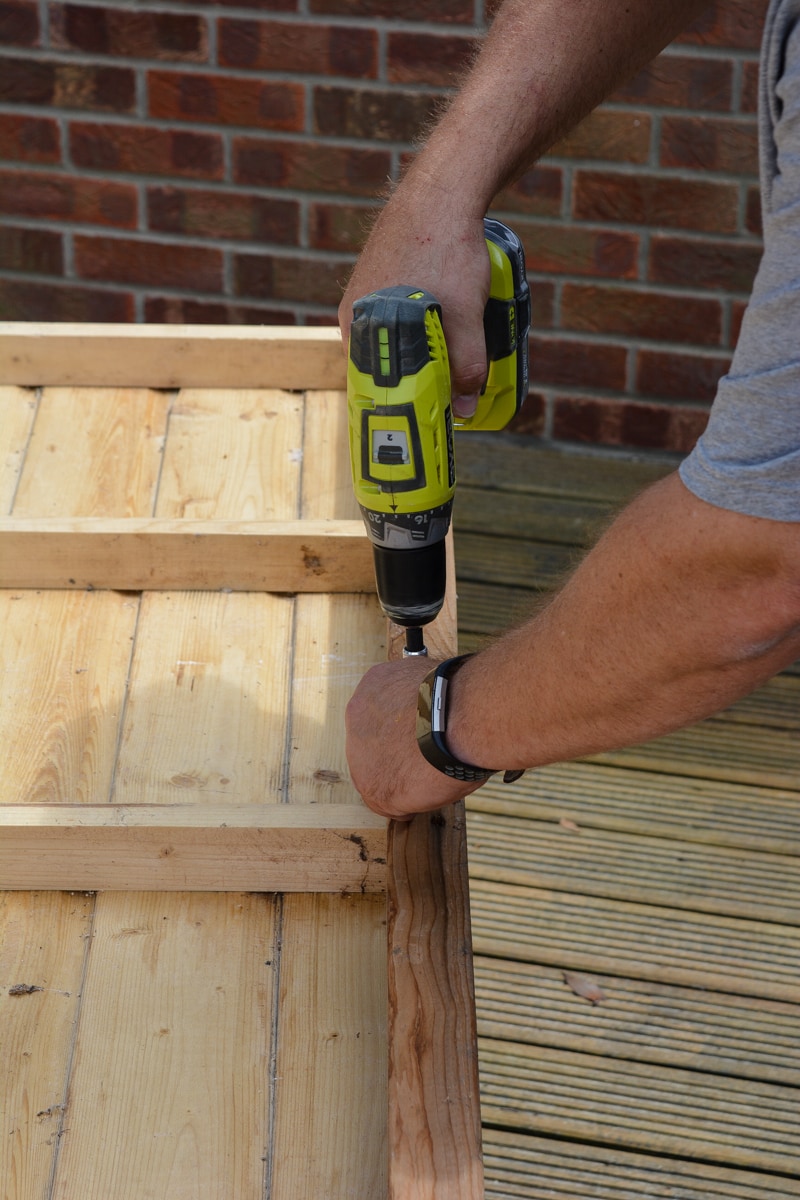
Add supports to the 2 edges that don’t have existing support, as well as a couple of equally spaced supports across the width of the table. The additional supports are placed on top of the original supports, but running in the opposite direction. He used wood supports from other parts of the old sheds.
With the table top secure and steady it is time to add the legs, My husband cut four legs from new wood measuring 1 3/4 by 3 1/2″ into 2’5″ lengths (it is fractionally higher than our old table but at 6′ tall I have no complaints!).
The legs are positioned at corners where the supports under the table meet, then screwed into place.

To ensure the legs didn’t spread over time he decided to add further support with cross pieces around the four legs. As the legs are positioned in from the sides of the tabletop these supports do not get in the way of any long legged people sitting at the table.

With the table made it is time to finish the edges of the table to give a professional finish.
Add architrave around the edges. Measure and cut to size using mitred edges.

If you have any gaps between the edging and the table top fill with external use filler.

Prep the table for painting, we gave the table top a good scrub clean and a light sand.

Paint the table with a primer then an outdoor furniture paint, we used what we had, a can of paint provided with our new shed.

The table had one coat of primer and two of external paint, ensuring we fully covered the slight gaps in the tongue and groove.
If like me you pick up a drill and wonder which drill bit you should be using you will find my drill piece cheat sheet really helpful – sign up to my newsletter for access to my resource library.
[mailerlite_form form_id=1]

Our new DIY garden table took an afternoon to make, plus painting and drying time. I couldn’t be happier with the result, the size is more luck than judgement but it is perfect for us. What’s more the new wood cost less than £70!!
The question remains what to make with the remaining old shed panels. The children are keen for more projects so we better get brainstorming, any suggestions??

Trish Smith
Sunday 26th of August 2018
An outdoor shelf unit would use some of the wood and it could be painted to match the table. Or a serving cart. What about planter stands with wheels for large plants. An outdoor coffee table with a shelf underneath for storage. A garden stand- a place to repot plants, keep small tools, have potting soil in a container, I saw one with a nice cut out that fit a lidded tub to keep potting soil handy. It was easy to keep clean and you can tailor it to meet your needs. Trivits to keep your table top protected from hot dishes. You could have fun piecing small sections together for a puzzle design.
What fun to come up with ideas.